Configure an n8n agent with Clovis
This page explains how to connect n8n to Clovis via the OpenAI-compatible connector (Clovis base URL), and then how to use it in an AI Agent.
Prerequisites
Access to n8n (Cloud or self-hosted)
A Clovis API key
The Clovis API URL (OpenAI-compatible)
Example:
Example:
https://llm-gateway.clovis-ai.fr/v1The model name / model group to use
Example:
Example:
ClovisLLM Step 1 — Foundation
1- Create a workflow
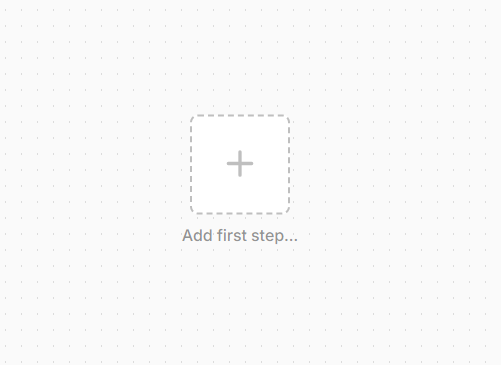
2- Create an agent
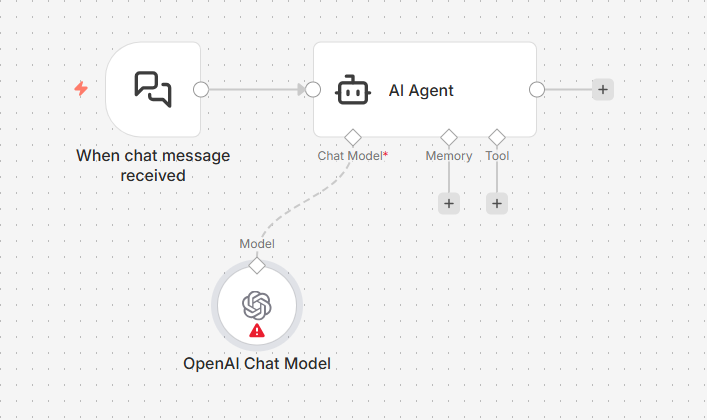
Step 2 — Configure the “OpenAI Model” node
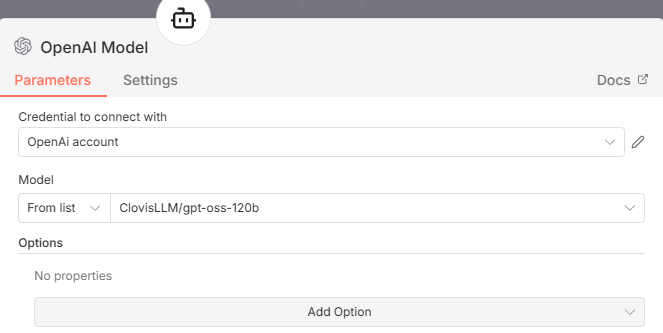
1- Add an OpenAI Chat Model node to your workflow.
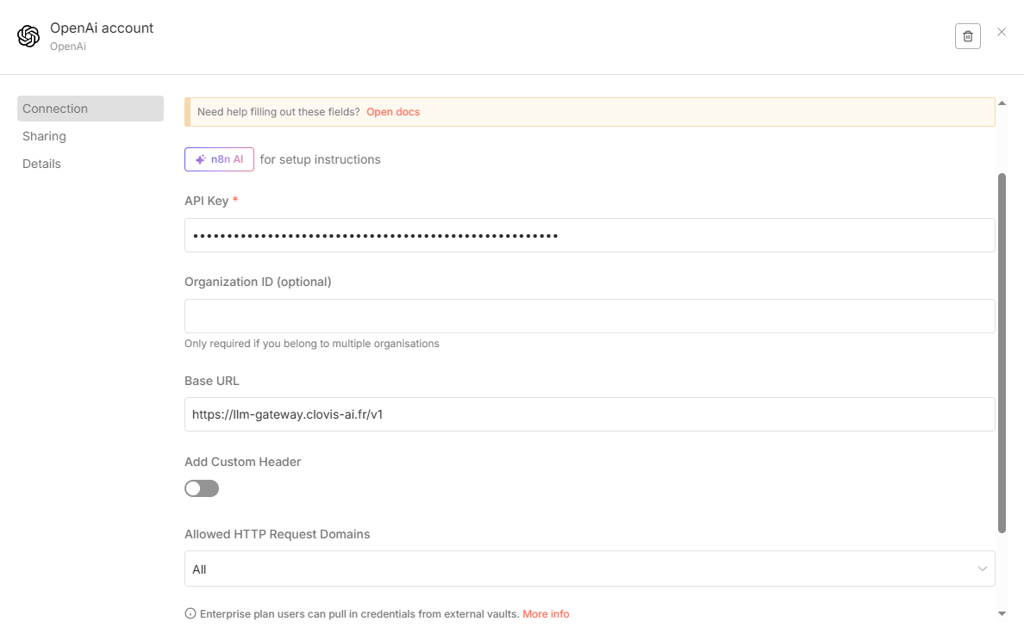
2- In Credential to connect with, select Create new credential.
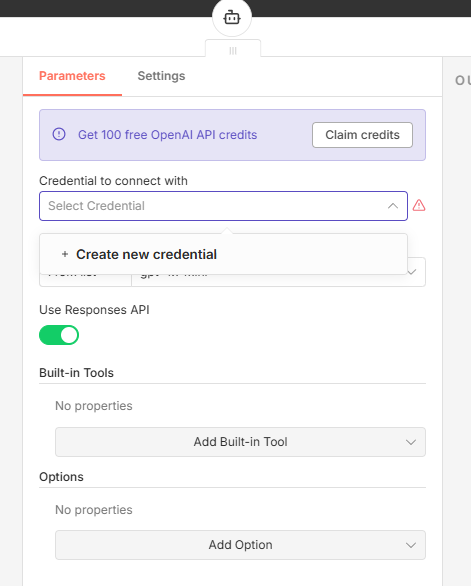
3- Create a new OpenAI credential:
API Key: your Clovis key (
sk-XXXXXXXXXX)Base URL:
https://llm-gateway.clovis-ai.fr/v1Organization ID: optional (leave empty in most cases)
4- In Model, select or enter the Clovis model (e.g., ClovisLLM/gpt-oss-120b).
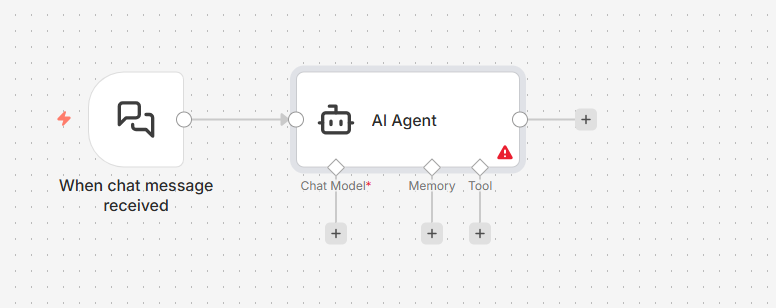
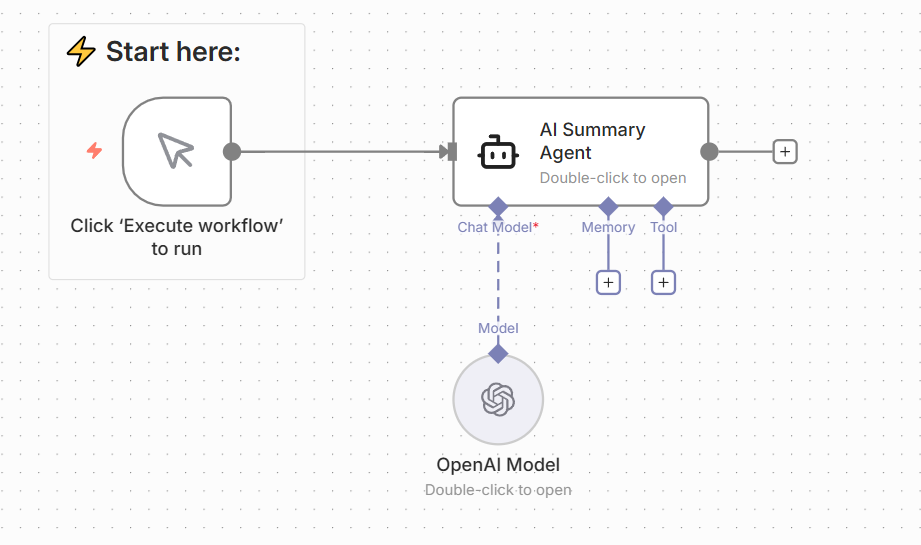
Step 3 — Connect the model to an AI Agent
- Connect the OpenAI Model node to the agent’s Chat Model port.
- (Optional) Add Memory if you want to keep conversational context across executions.
- (Optional) Add Tools if you want to equip the agent (e.g., HTTP Request, Google Drive, etc.).
Step 4 — Test with a simple example (summary)
In your AI Agent, you can use instructions such as:
- System / Instructions (recommended) “You are a summarization assistant. Summarize in a maximum of 5 bullet points, with a neutral tone. If information is missing, mention it.”
- User message (input data) “Here is a text:
{{$json.text}}. Provide a summary.”
Then:
- Click Execute workflow
- Check the output of the AI Agent node (generated summary)
This workflow is enough to validate the n8n ↔ Clovis connectivity and start generating summaries, classifications, reformulations, etc.